


Macau Tower, China
This is presently the highest bunjee jumps open to public. The jumpers take off from the platform at the top of the AJ Hackett Macau Tower and free fall over 764 feet.
Varzasca Dam- Ticino, Switzerland
This is one of the popular destinations in the world. Actually, 1995 Bond movie sparked an interest of the dam. The jumpers take off the plunge from the dam and free fall over 720 feet. The location also offers night jumps.
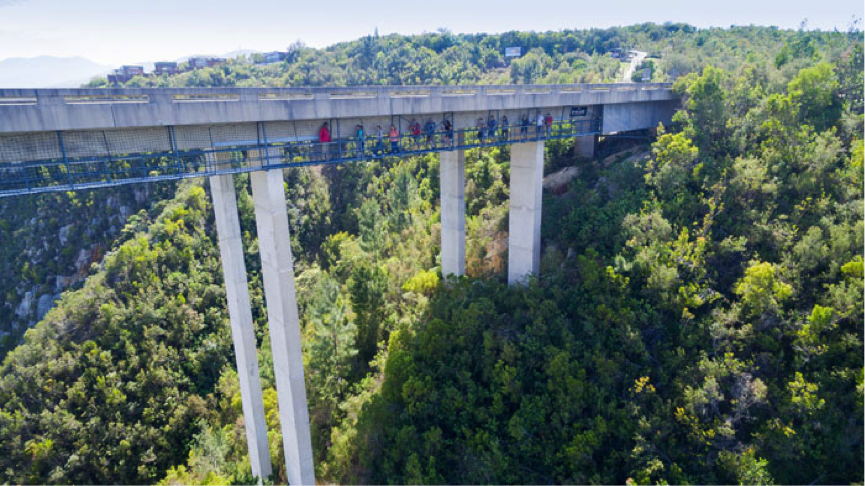
Bloukrans Bridge South Africa
This is the tallest commercial bridge in the world. The jumpers take off the plunge from the bridge and free fall over 709 feet.